>>
30-MINUTE MEALS! Get the email series now →


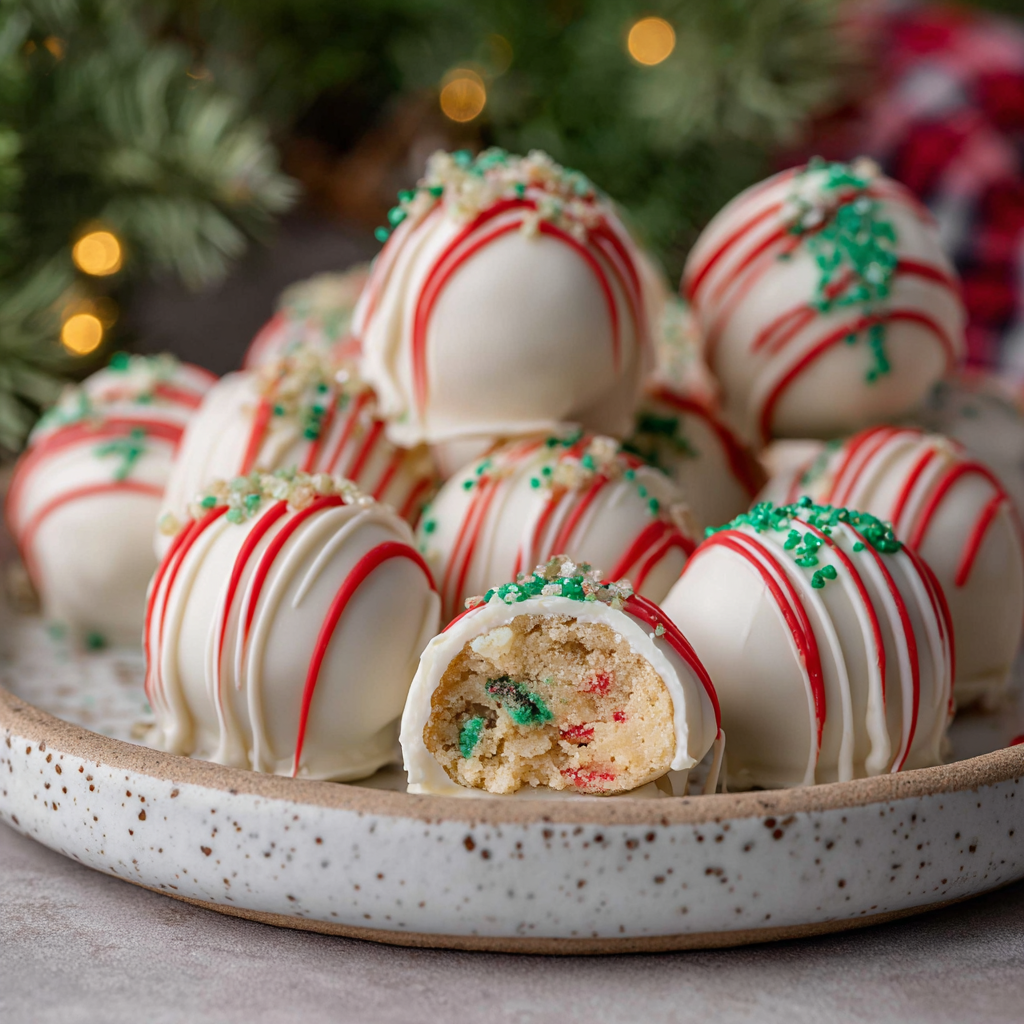
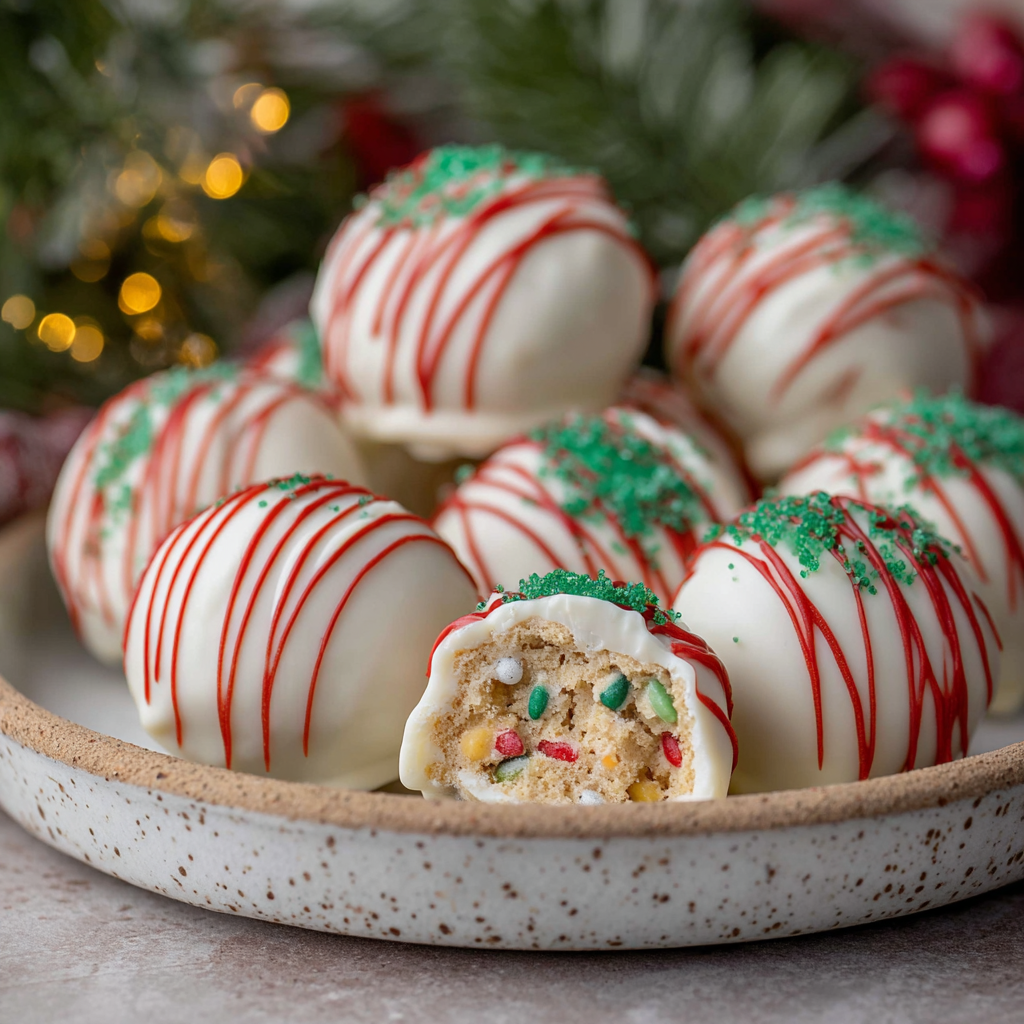
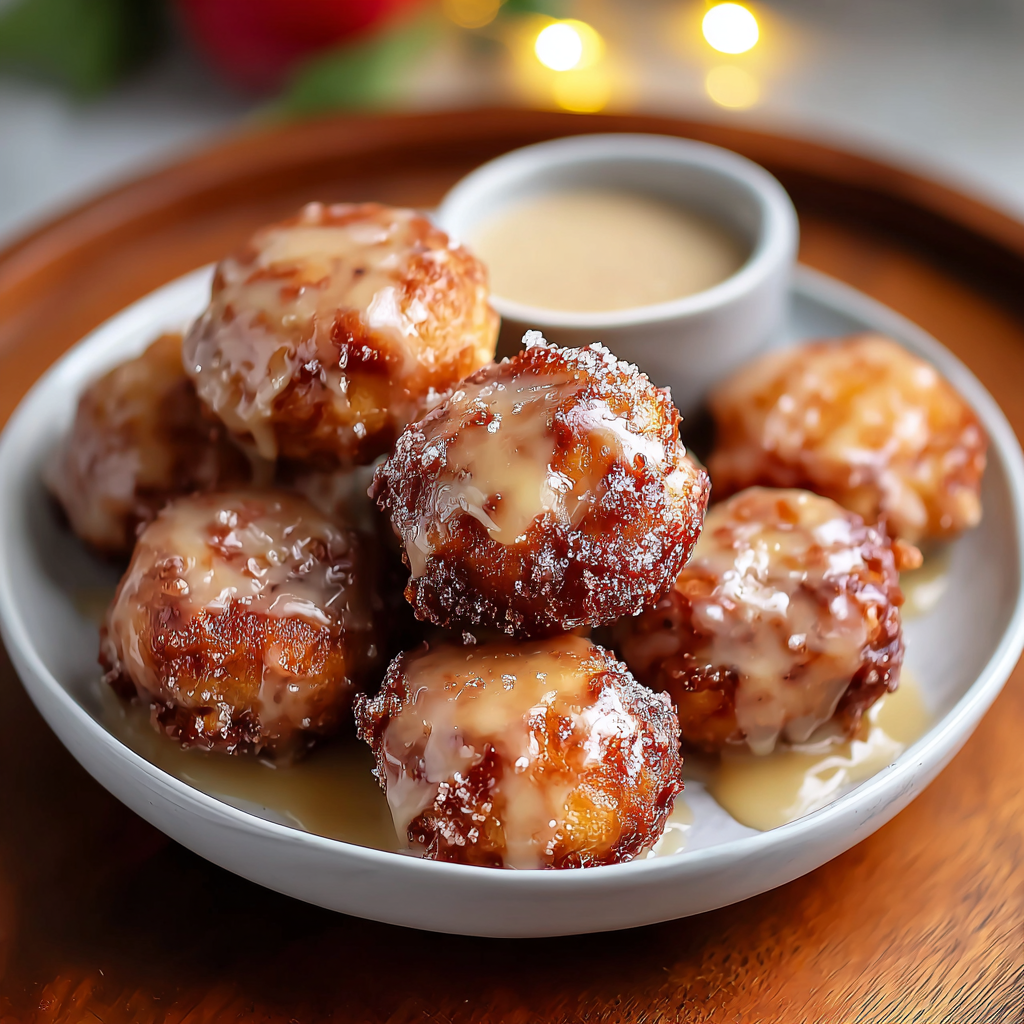
Turn a box of Little Debbie Christmas Tree Cakes into festive, no-bake truffles coated in white chocolate, drizzled with red, and finished with green sanding sugar—perfect for holiday potlucks.
I love that these started as a pantry remix and became a holiday staple. My sister always requests a batch for her office party; coworkers line up for seconds. The recipe has a built-in nostalgic twist that makes it feel special even though it's surprisingly simple to pull off.
My favorite thing about this treat is how it transforms a simple snack cake into a festive bite that looks like it took hours to make. Friends often ask for the method, surprised at how quick and forgiving the process is. I love assembling a tray of these while a holiday movie plays in the background—there's something very cozy about switching between rolling truffles and wrapping gifts.

Store the finished pieces in a single layer or with parchment between layers inside an airtight container. At room temperature they are fine for short serving periods, but refrigeration extends freshness and keeps the shell crisp for up to a week. For longer storage, freeze the tray on a sheet until firm, then transfer to a freezer-safe container for up to 3 months. Thaw overnight in the refrigerator before serving to avoid condensation forming on the coating. When reheating gently to room temperature, allow them to sit 10–15 minutes so the shell loses chill but stays firm.
If you prefer a darker chocolate shell, substitute milk chocolate or semi-sweet morsels for the white coating—temper or use candy melts designed for dipping to prevent streaking. For dairy-free or vegan options, select certified vegan chocolate and ensure the cake product used is a vegan alternative or homemade vegan cake crumbs. If red candy melts are unavailable, use melted strawberry-flavored candy or colored decorating gel for similar results. To make the center less sweet, fold in 1–2 tablespoons of crushed nuts or 1 tablespoon unsweetened cocoa powder to the crumb mixture; this changes texture slightly but adds balance.
Arrange on a festive platter with sprigs of rosemary or edible holly for a seasonal display. These pair well with hot cocoa, coffee, or a sparkling punch. For gifting, place them in a small box lined with parchment and tie with ribbon; include a label noting common allergens. They make charming additions to cookie trays, teacher gifts, or afternoon tea alongside shortbread or ginger snaps.
While the snack cakes themselves are modern American convenience foods, transforming packaged confections into bonbon-like sweets has roots in classic European chocolate-making where cake, biscuit or cookie crumbs are reworked into truffles. This adaptation is a holiday-era American spin—taking nostalgic, ready-made treats and elevating them with simple chocolate work to create something celebratory and shareable.
For winter holidays, use red and green decorations as shown; for Valentine’s Day swap green sanding sugar for pink or use heart-shaped sprinkles. At Easter, choose pastel candy melts and multicolored sanding sugars. For a grown-up version, add a teaspoon of liqueur such as amaretto or orange liqueur to the crumb mixture—reduce the amount slightly so the centers remain firm.
Make the crumb mixture and roll the balls a day ahead, storing them chilled on a covered tray. Dip and decorate the day you plan to serve for the freshest appearance. If preparing for multiple events, freeze fully set truffles on a baking sheet then transfer them to a container separated by parchment; thaw in the refrigerator the day before gifting or serving. Label containers with date and contents to avoid mix-ups during a busy holiday season.
These little truffles are a quick way to add homemade flair to holiday celebrations—easy enough for beginners but pretty enough to make you look like a pro. Happy dipping and decorating, and enjoy sharing them with friends and family this season.
Chill the formed balls for at least 15 minutes before dipping to minimize cracking of the shell.
Work in small batches when dipping so the coating stays fluid and glossy.
Use a fork or dipping tool and tap the handle to remove excess coating for a neater finish.
If the coating becomes grainy, do not overheat—stir and allow it to cool slightly before continuing.
This nourishing little debbie christmas tree cake truffles (easy no-bake) recipe is sure to be a staple in your kitchen. Enjoy every moist, high protein slice — it is perfect for breakfast or as a wholesome snack any time.
Yes, you can freeze them for up to 3 months. Freeze on a tray until firm, then transfer to an airtight container with parchment layers.
If the white coating thickens, rewarm gently in 10–15 second bursts in the microwave at 50% power and stir until smooth.
This Little Debbie Christmas Tree Cake Truffles (Easy No-Bake) recipe makes perfectly juicy, tender, and flavorful steak every time! Serve with potatoes and a side salad for an unforgettable dinner in under 30 minutes.
Unwrap the 5 cakes and place them in a large mixing bowl. Tear into smaller pieces to make them easier to blend and ensure even texture.
Use a handheld mixer or food processor to pulse the cake pieces until they become a moist crumb. Fold in 3 tablespoons festive sprinkles and mix until evenly distributed.
Scoop tablespoon-sized portions and roll between palms into smooth balls. Place on a parchment-lined tray and chill in the refrigerator for 15–20 minutes to firm up.
Melt 8 ounces of white chocolate or candy melts in 20–30 second bursts in the microwave at 50% power, stirring between bursts, or use a double boiler until smooth.
Dip chilled balls into the melted coating using a fork or dipping tool, tap off excess, and return to the tray. Chill briefly to set the shell before decorating.
Melt red candy melts and drizzle over the set truffles using a piping or zip-top bag. Sprinkle with green sanding sugar immediately and refrigerate for 10–15 minutes to set completely.
Last Step: Please leave a rating and comment letting us know how you liked this recipe! This helps our business to thrive and continue providing free, high-quality recipes for you.
Leave a comment & rating below or tag
@veralkitchen on social media!
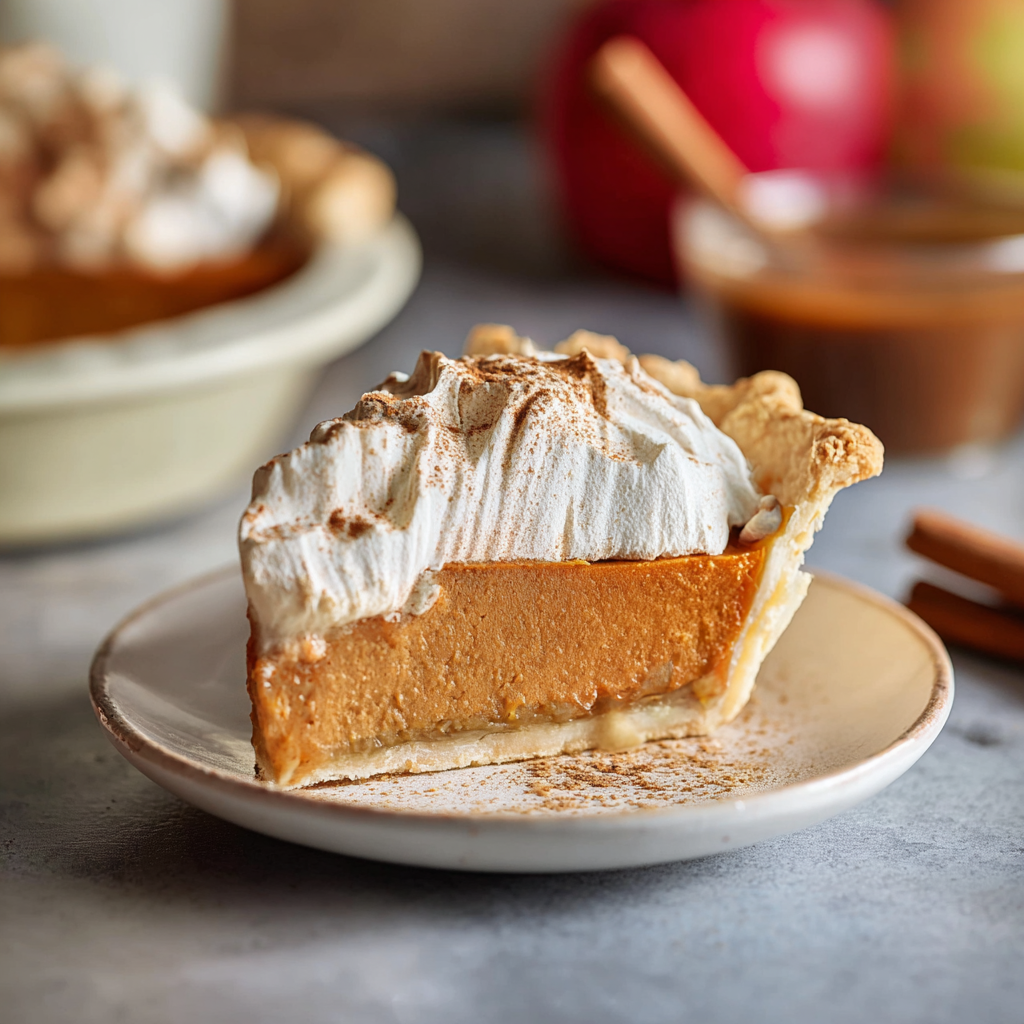
A silky apple butter filling baked in a flaky homemade crust and finished with cinnamon whipped cream and apple butter swirls.
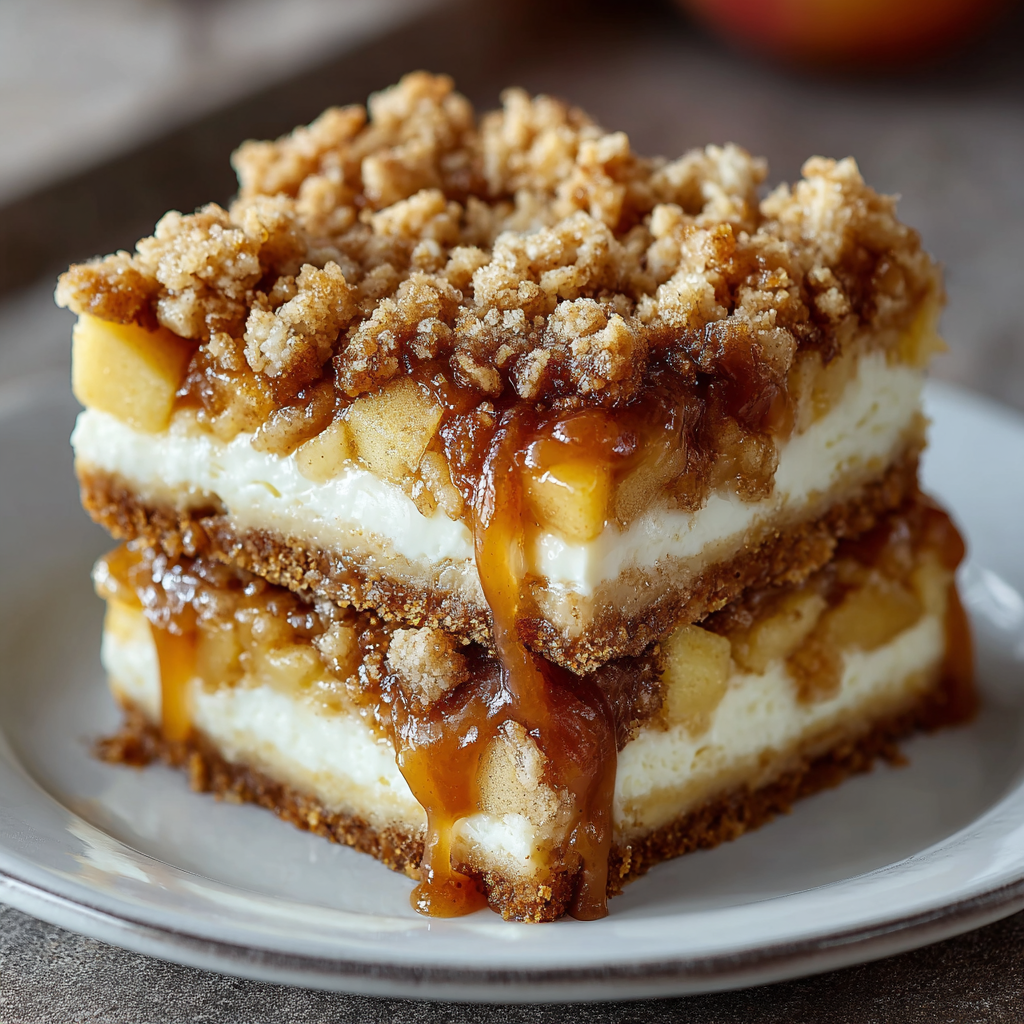
Buttery crust, a creamy cheesecake center, cinnamon-scented apples, and a crunchy oat topping—these bars are a brunch-ready hybrid dessert that’s irresistible.
Tiny, tender bites studded with tart apple and warm cinnamon — a quick and delicious treat perfect for breakfast, snacks, or dessert.
Leave a comment & rating below or tag @veralkitchen on social media!
Enjoyed this recipe? Share it with friends and family, and don't forget to leave a review!
This recipe looks amazing! Can't wait to try it.
Comments are stored locally in your browser. Server comments are displayed alongside your local comments.
Quick and easy dinner ideas delivered to your inbox.
